|
|
| |

|
|

|
Before going on to the spectacular cuirass, I want to devote a page each to the leather
and metalworking for this project.
Prior to taking on this project we had never done metal embossing, ABS plastic construction or
leatherworking. We were very fortunate to find kind and experienced people who took an interest in
what we were doing and gave us excellent advice.
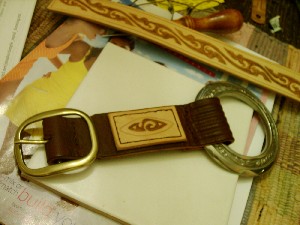
Gamling's belt was my first assignment. Since I was going to wear it, I needed to make it. The belt
is embossed vegetable tanned leather. The design was taken from photos of the film belts on display at
various events. It was embossed into the dampened leather with a small ball-headed stylus.
The vegetable tanned leather was sewn by hand onto the latigo base, which was embossed, trimmed and punched
after the scale mail coat was completed, to insure correct placement of the fastening holes.
The most difficult piece to locate was the big rings for the scabbard to hang from.
It turned out to be a part of horse tack (what else!) called a collar ring.

|
|
|
|
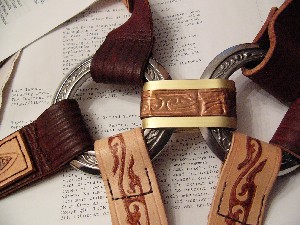
The design on the belt is colored with a brown fabric dye pen. This is like a felt
marker. The pen gave me much better control of where the color went on the leather than a
brush would have done. The edges of the belt leather were burnished (I used a scrap of the
leftover silk from the shirt) and the latigo parts of the belt were dyed on the edges. The
belt buckles are just regular antique brass, but the clip that holds the two rings together
had to be constructed. This is made from a section of brass colored door threshold metal that
has had an inlay of embossing copper folded into it. The whole thing holds in place with a
rather cunning brass screw that I found in the scrap bin in the garage.
|
|
|
|

|
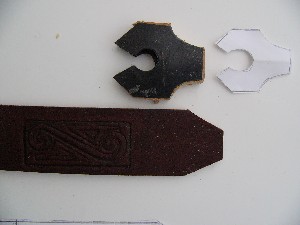
Theoden's belt is constructed in much the same way, but his requires custom hardware.
This was again made from ABS plastic and wood covered in embossed brass.

|
|
|
|

|
The majority of the leatherworking on the project consisted of cutting, embossing, and edge dying
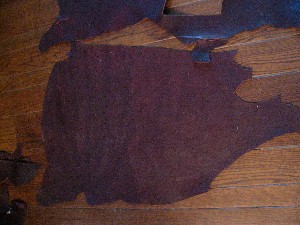
the many, many pieces of leather trim on both sets of armor. We purchased latigo leather hides for this,
trying to get them as thin and flexible as possible. Many of the patterns appear at first glance to be
the same, but they are actually different variations, and sizes. It was rare to discover that a particular
pattern could be reused in the same size for more than one location.
I include the most prominent pattern here, but there are others consisting of horses heads and pieces
of this same basic pattern cut in different ways. There are also quite a lot of straps, not only the visible
ones, but the invisible ones inside the pauldrons and cuirass. All of these are embossed with a design
also. horse pattern

|
|
|
Each item had to be cut out of latigo hides (again I found the penny cutting scissors to be a big help). The
edges had to be dyed to match since latigo is dyed a maroon/brown color, but when cut reveals a lighter
beige center. I used a cotton tipped swab for this and usually wore gloves. Your skin IS a form of leather and
it will take the dye very well.
To emboss the designs you can wet the leather with a damp cloth and etch the design with a stylus, but I
found that damp leather also destroyed the paper pattern with the embossing design on it, so I was doing
dry embossing. Go over the design once to transfer it, then you can either trace again multiple times until
it is deep enough, or you can carefully dampen it in sections to re-emboss. Too much dampening will cause the
design to disappear before you have time to deepen it. The paper patterns may be good for 4-8 embossings,
depending on how vigorously you push against them when tracing the design.
|
|
|


|
|