|
|
|

|
|
|
|
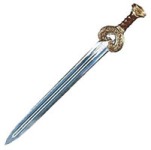
Scabbards for both swords were constructed. The photos in this section
demonstrate the construction for Gamling's sword, but a scabbard for Theoden's sword
Herugrim was made using the same methods.
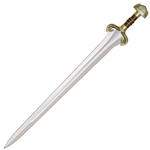
Since there is no replica sword for the Gamling character, a replica sword
for Eowyn is used with that costume.
|

|
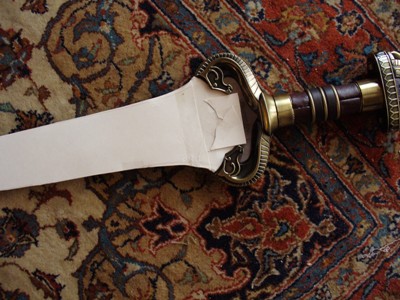
The sword is placed on a large sheet of stiff paper and traced.
|
|
|
The tracing is taped to the blade and any extra additions to the scabbard
are added to make it fit the shape of the hilt.
|
|
|
|
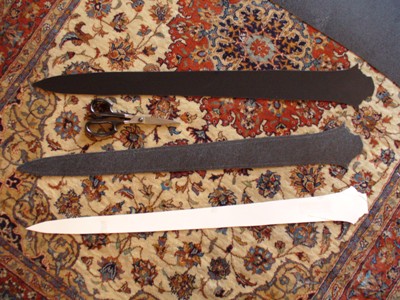
The scabbard is sized up by adding 1/4 inch to all the edges that will
civer the blade, but not to any of the other parts of the scabbard blank. The
final blank is cut from ABS plastic. I used my 'penny-cutting scissors' again.
|
|
|
|
|
|
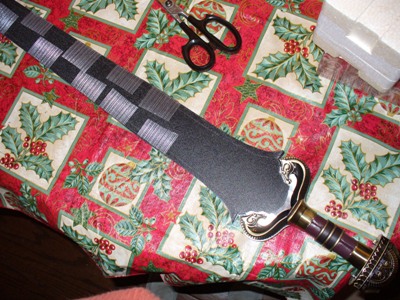
Tape the two sections with fiber reinforced tape around the sword and check the fit.
It will be tight! You may want to leave the very top un-taped at this stage so you can get the
sword back out.
|
|
|
|
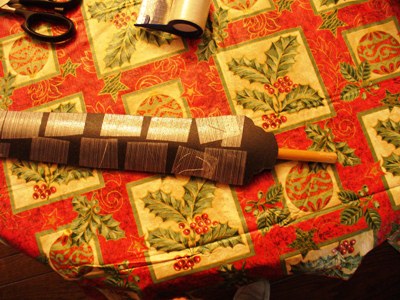
Pull out the sword, add some more tape so that all the edges are covered by at least
one layer and push a good sized dowel into the scabbard in place of the sword. You can hand bend
the plastic by pushing against the dowel. This will make the scabbard loose enough to pull and
replace the sword. Keep at it until it works properly.
|
|
Cut out two pices of cover material. I used vinyl. One should be large enough to wrap around the
edges of the scabbard and one should be slightly smaller than the size of the original paper pattern.
|

|
|
|
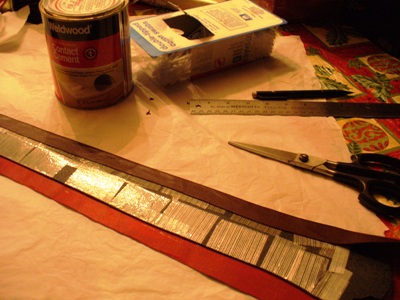
Fold up the edges of the first section around the scabbard smoothly and glue them into place
with contact cement. Let dry thoroughly and check for attachement.
|
|
|
|
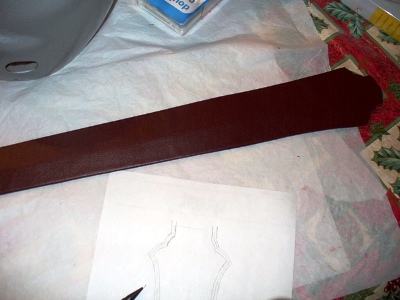
The other section of the cover is centered on the scabbard and glued down covering the raw
edges of the first section, but it does not extend out to the edge of the scabbard. That would make
it mor subject to snagging and being pulled off. Leave it about 1/4 inch from the edge all around.
I wear this part of the scabbard against the body, and the other section toward the viewer.
|
|
|
|
The final addition to the scabbard is the hardware. I traced the original hardware design on paper
adjusting it to fit the scabbard by wrapping around the underside and extending enough beyond teh scabbard
to allow for the insertion of metal rings for attaching the scabbard to my belt. The design was built up
in layers of ABS. I bent the bottomost layer by hand to fit around the scabbard and punched the holes
for the chain. I then flattened it out, built up the layers of additional design and sprayed it all with
metallic paint. When it was dry I completed assembly.
|

|
|
|


|